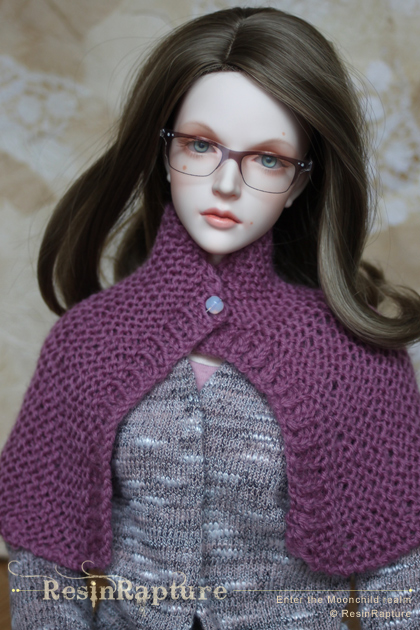
The all doll capelet Brianna style
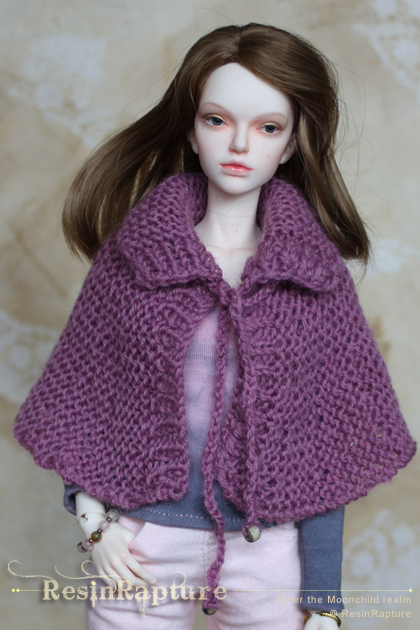
I am currently working on new outfits for the Kids, and I wanted capes to go with the outfits. If you are a fan of the Outlander series, this type of cape might look familiar. Brianna wears a gradient wool knit capelet in the series, and since it’s really quick & simple I decided to go with this style. If you search for “Brianna’s cape” you will find lots of images. It just covers her shoulders, but it’s really easy to adapt the pattern to make it longer.
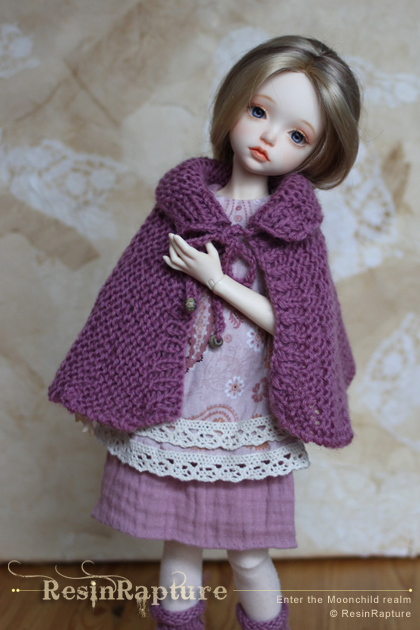
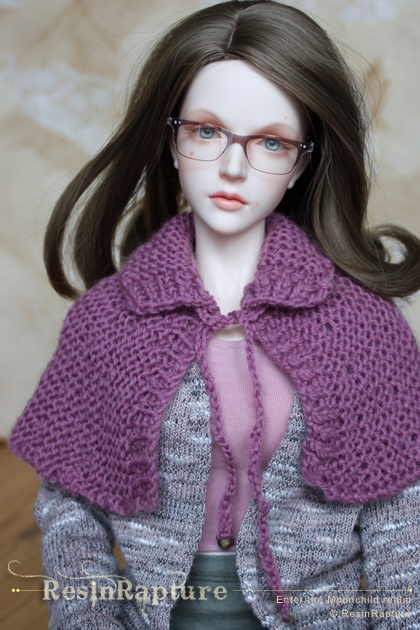
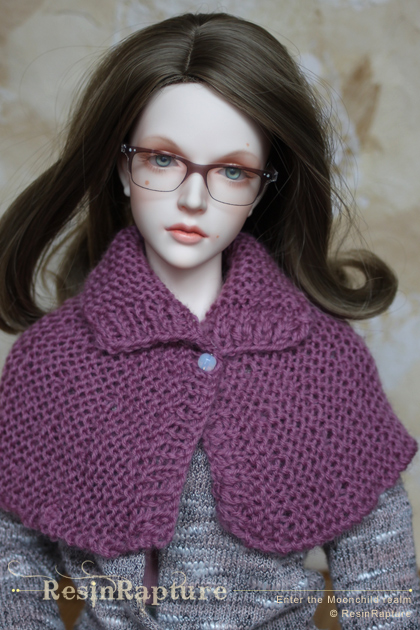
Even though gradient wool looks probably better I decided to use just one color. The color-mix effect would be a bit too much in combination with the outfits I made. I will show them in the next post when I have finished Mailin’s cape. The nice thing about this cape is that it basically fits all doll sizes. On the Kids it’s a cape, and on SID size it’s a capelet. Depending on the way you close it you can create a variety of different looks. Buttons, a brooch, a cord, with a collar or without – it’s one of those garments that will go in the box with communal clothes. And I can imagine this in some kind of brownish-green gradient even for the guys.
Knitting pattern for Brianna’s cape
To make this all you need to be able to do is knit basic knit (right) and purl (left) stitches. Since reading knitting patterns in a foreign language can be a bit difficult, I’ll try to make it as easy as possible.
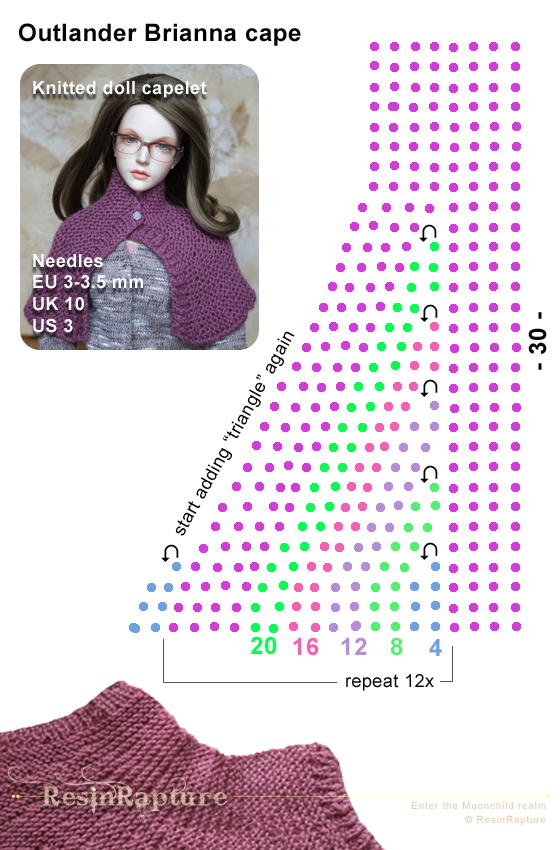
I started with casting on 30 stitches, and after 6 rows of knit and purl for the cuff I continued with 4 rows all purl. The complete cape is knitted using purl stitches, I think it just looks nicer, less smooth. Especially if you make this in human size and use very chunky gradient yarn.
After the fourth row you knit just 4 stiches and turn, like you would do at the end of the row. And knit back to the start of the row. Next row is 8 stitches up, turn, back. Next 12 stitches, turn and back. 16 stitches, turn and back. 20 and turn and back.
After that you knit the complete row knitting all 30 stitches. You have just created a little “triangle” that adds width to the lower part of the cape. The triangle is followed by 4 rows of purl stitch. After repeating this 12 times you can add your cuff again. Job done. I used 3,25mm needles for this, the UK and US sizes are below in the picture. The yarn I used is ordinary sock yarn. I guess the original Brianna Cape was made using at least 7 or 8 mm needles (US Size 11) and really chunky gradient yarn. If you want to make this for human size you can use the basic construction with the number of stitches you would need to cast on for the length you want.
I hope this was not too complicated. If you have any questions, let me know in the comments.
Thanks for the pattern Mia. I shall give this one a try when I have finished what I’m already knitting. 🙂 Might try it in a slightly different yarn.
Big hugs,
X
Thank you :). I look forward to see what ever you are knitting. I think I make another one in a gradient yarn just to see how it looks. There are so many things you can do to create different looks with this.
Thanks for the instructions! Maybe I’ll try this for Swinte, when she gets here, it’s lovely. 🙂
Since it basically fits all sizes you could start right now and surprise her when she arrives 🙂
Indeed! I’m knitting a sweater for myself right now, and from the wool I probably will have some left over, I could easily make one. It’s very thin (knitting it with two threads at the same time), so that’s perfect. To be continued!
I’d love to see both results 🙂
Oh my, the cape is lovely! Thank you so much for the pattern as well 😀
Thank you :).
I decided to give this project a try today, and I’m not sure if I’m doing it quite correctly. I seem to have the triangle increases on both ends, and not just all on one side.
Does that make sense? I can’t figure out how to put a picture here, but I hope you understand what I’m asking. I would love to see an image of the capelet lying flat on a table, so I can check myself.
This is a great pattern, and I thank you for sharing. 🙂
I am not sure if I understand you correctly, but a capelet needs to increase on both sides- left and right.
No, it seems to be increasing on both the top and the bottom, but I think I have the issue figured out. The bottom image that has the pictorial chart shows 4 rows of stitches between each set of increases. I was doing a full row after the 20, and then doing my 4 full rows after that. That was putting increases on opposite ends (top and bottom), instead of keeping all the increases on the bottom(at the shoulders), where they needed to be.
I just pulled everything last night and started over on the ribbing this morning. I’m certain that it will be better this time around. 🙂
An, now I understand. I am sure it will work this time ;). Maybe the instructions might help to clarify what the picture doesn’t show.
Comments are closed.